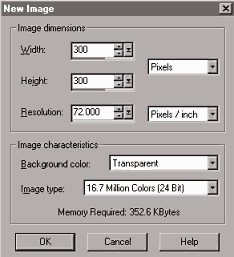
This is not a real glamorous tutorial. It uses basic shapes to teach how layers are used in Paint Shop Pro.
1. Create a NEW IMAGE - 300 x 300 with a transparent background.
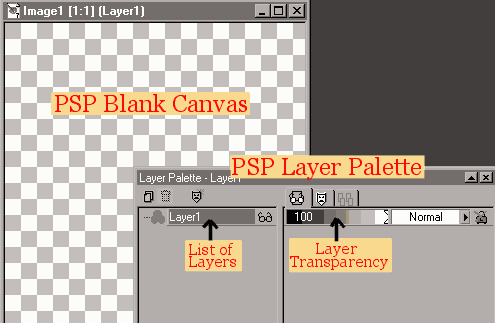
If your LAYER PALETTE is not viewed on your workspace, click VIEW> TOOLBARS> and check LAYER PALETTE.
2. FILE> SAVE the image as .psp extension. If you plan on opening your image in older versions of psp, then click OPTIONS, and choose the appropriate version (5 or 6).
3. LAYERS> NEW RASTER LAYER ~ name the new layer "Red Circle" then click okay. A new layer named "Red Circle" appears in the layer palette.
4. Click the SELECTION tool ![]() - TOOL OPTIONS: selection type(Circle) Feather(0) Antialias(checked)
- TOOL OPTIONS: selection type(Circle) Feather(0) Antialias(checked)
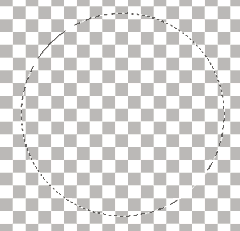
Now place your mouse in the approximate center of your canvas, and drag a circle shape. The marquee or "marching ants" should be around the shape.
5. Click the FLOOD FILL tool ![]()
In your Color Palette, choose red as FOREGROUND color with no texture. ***If you need help with this, try my Color Palette Tutorial.*** Click your mouse inside the selection and your circle changes to red.
6. Click SELECTIONS> SELECT NONE. This will De-Select the selection marquee around the circle.
FILE> SAVE your image.
7. LAYERS> NEW RASTER LAYER. Name this new layer "Blue Square" - click okay. You will see another layer appear in your Layer Palette.

8. Click the SELECTION tool. TOOL OPTIONS: selection type(Square) Feather(0) Antialias(checked)
Now take your mouse, and starting where you want the bottom corner of your square to start, drag a Square shape on your canvas. The selection marquee should be around a square shape.
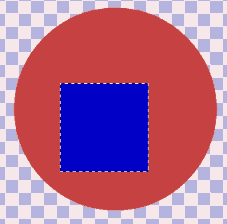
9. Click the FLOOD FILL tool. Change the FOREGROUND color to blue, and click your mouse inside the selected square shape. It will now be blue.
SELECTIONS> SELECT NONE will De-Select the Square shape.
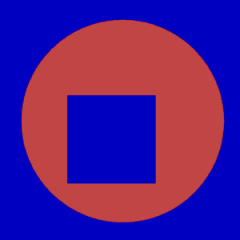
10. Right now, you should have 3 layers in your Layer Palette. Click on the bottom layer (the original layer named Layer1).
With the FLOOD FILL tool, click on the transparent background on your canvas to fill with the blue FOREGROUND color. The background area behind the Red Circle is now blue. Because the layer you just filled, is a separate layer, UNDER the circle and square layers, it has no effect on any other layers.
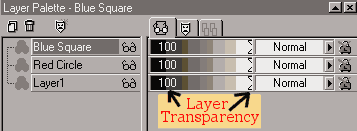
11. In the Layer Palette, click on the layer named "Red Circle" to make it the active layer. Click on the Layer Transparency/Opacity lever. Move the Opacity Lever to 60 -- this makes the red circle shape on your canvas 60% transparent, and lets some of the bottom layer show through. The circle should have a purplish hue to it now.
If needed, experiment with each layer and how the opacity level effects the image.
12. Another option of the layer palette, is to "hide" and "unhide" each layer.
On the Layer Palette, click on the "Blue Square" layer. Now, click
the little eye-glasses icon next to the layer name ![]() .
(An "X" appears over the glasses)
.
(An "X" appears over the glasses)
This hides the part of your image that was created on that particular layer, so now only the blue background and red circle are shown on your canvas.
At this point, if you saved a copy of your image as a .GIF or .JPG extension, it would merge all the layers automatically and save your image without the blue square. But saving it as .psp extension preserves all the layers, so when you open this image at a later time, the "Blue Square" layer would still be hidden, but able to be viewed if "unchecked".
I think that is it! Good luck ~ debbieT~