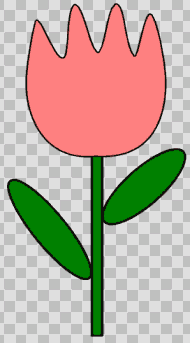
Well, here's my pink tulip, but what if I want a blue or purple tulip? What if I don't like that black outline around my filled color? What if I would like to use a pattern or gradient for the leaves or top part? Let's make some color changes.
16. Let's open a new canvas - 500 x 500
17. Click on the PRESET SHAPES tool ![]() and choose the tulip shape you imported in step 15.
and choose the tulip shape you imported in step 15.
In the Tool Options box, check RETAIN STYLE and CREATE AS VECTOR. Now, postition your mouse on your canvas, and drag the shape of your tulip.
I made mine a bit thinner than the original so I can fit more a few tulips on my canvas, but if you want to maintain the same aspect ratio, then hold down the SHIFT key while dragging your mouse.
Now, let's try something different with another tulip.
18. In the Layer Palette, RIGHT-CLICK on the Layer 2 (the new Vector layer that was added with the first tulip) and click NEW VECTOR LAYER - name it Tulip2. Using the same Tool settings as in Step 17, draw another tulip on the canvas.

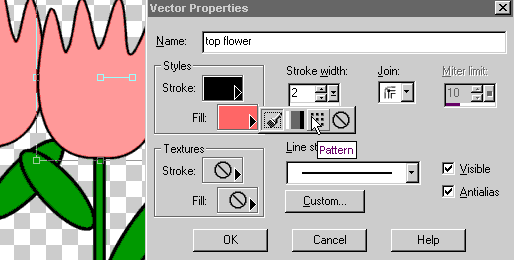
19. Now, click the + next to Tulip2 to open the sub-layers. Double-click on the sub-layer named TOP FLOWER. The Vector Properties box appears.
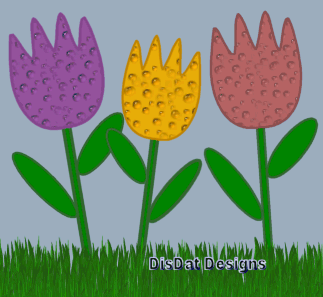
Hold down your LEFT mouse button on the FILL color swatch and change it to PATTERN; click on the PATTERN swatch, and choose a pretty pattern for your flower -- if you have a tile or background file that you would like to use, open that file on your workspace, and you will find that file as one of the pattern selections in the menu.
Once the new pattern is chosen, the flower changes immediately. This is a nice way to preview to see what looks good or not. You can also experiment with the PATTERN settings, like angle and scale.

20. Draw another TULIP shape on the canvas, and try using a gradient fill. Also you can change the outline/stroke to a different color, gradient or pattern - or choose none at all. Try changing the line width and line style too.
It might make it easier to edit your colors, if you RIGHT-CLICK on the group layer, and click ungroup. Then use the VECTOR OBJECT SELECT tool and double-click on the shape on the canvas, and the vector properties dialog box will appear.
Note for exporting vector shapes:
If you want to export each of the tulip shapes separately, then do not
group them. If the shapes are listed separately in your shapes list,
do not check off RETAIN STYLE, and you can choose your outline,
fill and textures right before you add the shape to your
canvas.
If you want to apply a filter or effect, RIGHT-CLICK on the vector layer, and choose CONVERT TO RASTER and you can a drop shadow, bevel, or one of your other favorite effects.
Keep working and practicing with vectors. I like to use them to create just about anything! I think I like shapes better than tubes now!
Thanks to everyone for their support!
~debbieT~